
Why Platinum Silicone Does Not Cure Against Some SLA 3D Prints
If platinum-cure RTV silicone is solid everywhere except the surface touching an SLA/DLP master, the problem is usually interfacial cure inhibition, not simply "bad silicone." The A/B silicone can be mixed correctly and still remain sticky where it contacts residual compounds on the print, paint, adhesive, release agent or insufficiently cured resin.
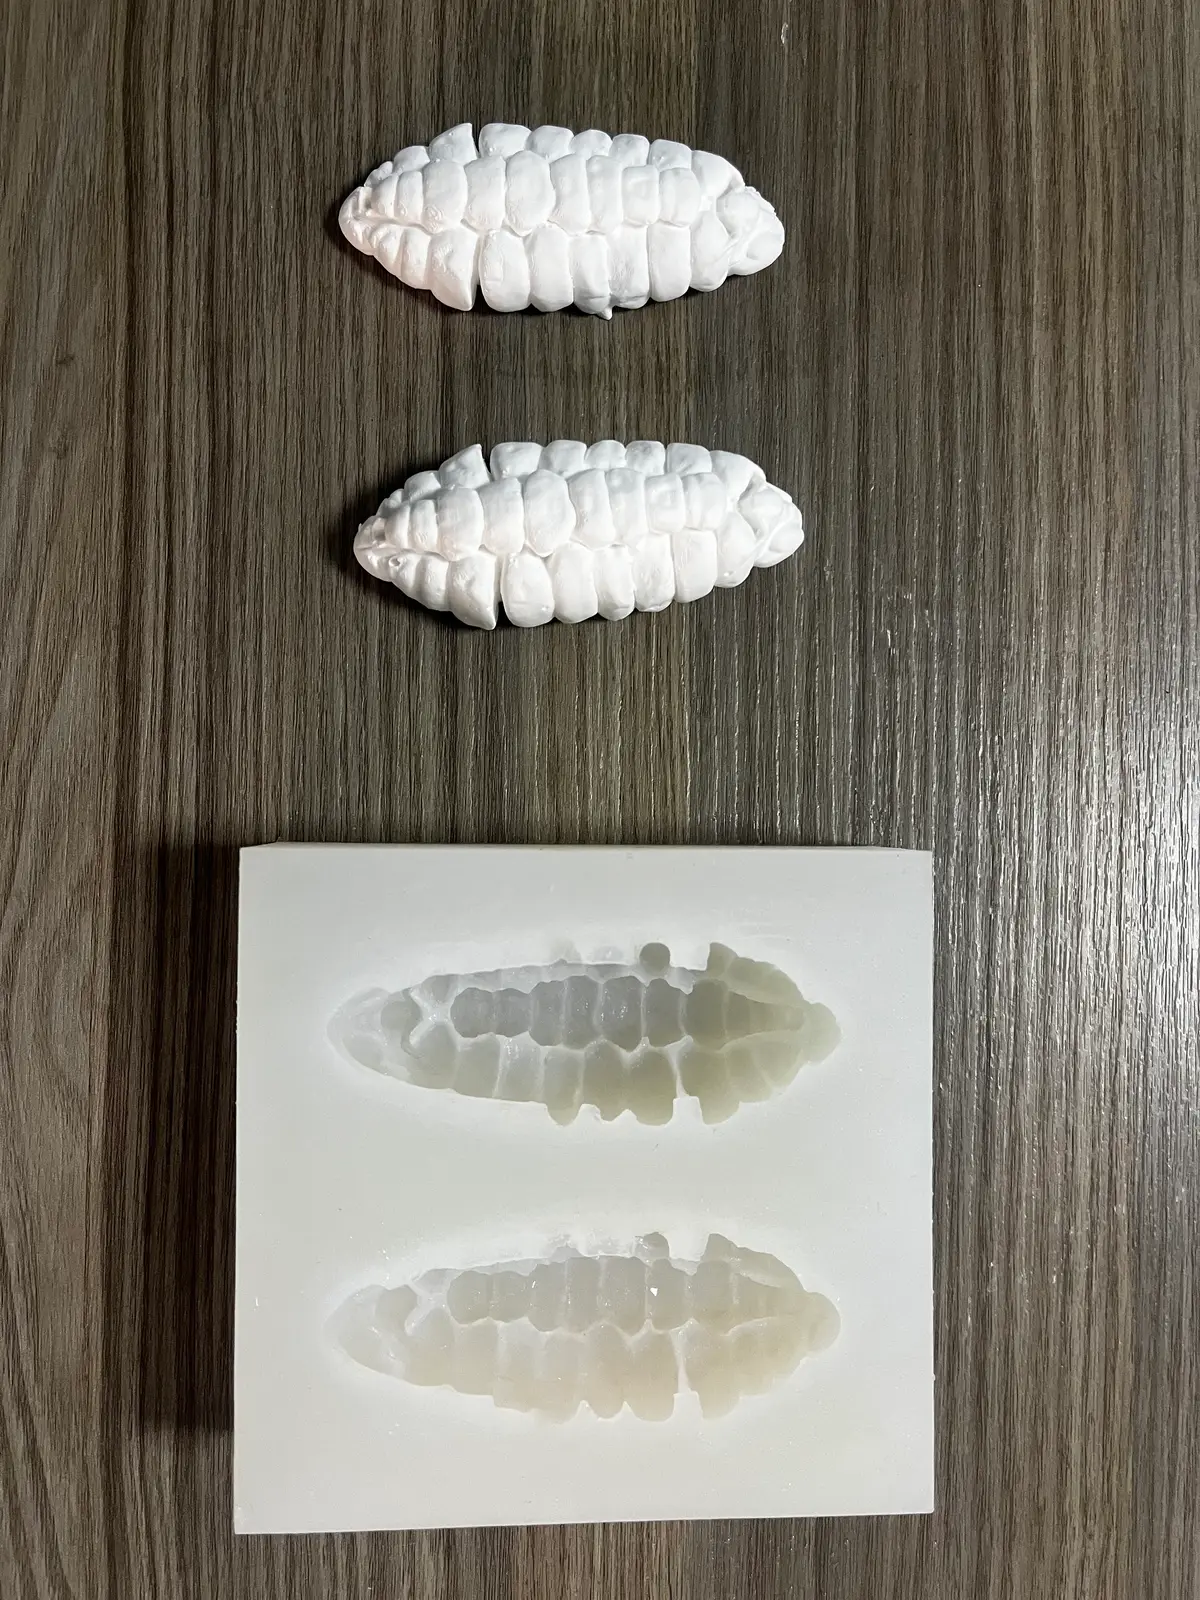
The fastest way to diagnose the problem is to identify where the uncured layer exists. If the bulk silicone is cured and only the master-facing skin is tacky, investigate the master chemistry first.
What cure inhibition looks like
Typical symptoms include:
- a greasy or sticky film on the silicone surface facing the master;
- fully cured silicone a few millimeters away from the interface;
- inhibition concentrated in recesses, holes or textured regions;
- repeated failure in the same location on multiple pours;
- the A/B cup sample curing normally while the mold surface does not.
That pattern is very different from an incorrect mix ratio, where a much larger portion of the batch may remain soft or uncured.
Why SLA/DLP masters deserve special attention
Photopolymer prints can retain uncured or partially reacted material, particularly in:
- deep lettering;
- drain holes;
- support contact areas;
- hollow features;
- surfaces shielded during post-cure;
- thick sections that did not receive the same cure as thin surfaces.
The exact inhibition mechanism depends on the resin and silicone chemistry, so avoid universal claims that "all SLA resin inhibits platinum silicone" or that one fixed UV cure schedule solves every resin.
The practical engineering approach is compatibility testing.
Diagnose before you remake the whole mold
Use a simple decision sequence.
1. Did the control sample cure?
Mix a small amount of the same silicone in a clean cup without touching the master. If it does not cure, investigate ratio, mixing, temperature, material age or contamination in the silicone process.
If the control cures, continue.
2. Is the failure only on the master-facing surface?
If yes, suspect contamination or incompatible master chemistry.
3. Is the failure localized?
If only one painted logo, adhesive repair or resin-filled recess inhibits cure, test that material separately.
4. Did the master receive adequate cleaning and post-cure?
Check the actual resin manufacturer's process rather than relying on a generic shop habit.
Common corrective routes
Depending on the master and application, the corrective route may include:
- re-cleaning and fully curing the print;
- mechanically removing contaminated surface layers;
- applying a fully cured compatible barrier/sealer;
- remaking the master in another resin or by CNC;
- switching RTV chemistry when appropriate for the application;
- isolating adhesives, fillers or paints that caused the inhibition.
A sealer is not automatically the right answer. It can soften detail, change dimensions or create its own compatibility problem if not fully cured.
Why waiting longer is not a reliable fix
If the issue is genuine inhibition, simply extending cure time may not produce a clean interface. The bulk can become firm while the contact surface remains tacky. That sticky layer can contaminate the master and make the next attempt harder to diagnose.
Stop and run a controlled test instead of consuming another full batch of silicone.
Use a patch matrix when the master is valuable
For a large or expensive master, prepare small coupons using the same resin and surface treatment. Test:
- cleaned + post-cured resin;
- the same resin with proposed sealer;
- any paint or primer used;
- any release agent planned;
- the intended RTV silicone.
Record cure quality and release after the normal cure window. This converts an uncertain chemistry problem into a small controlled experiment.
Example: inhibition inside fine lettering
Imagine an SLA master for a branded wax melt tray. The open surfaces cure correctly, but the bottoms of recessed letters stay sticky. The likely clue is not the wax application-it is that the letters are the hardest locations to wash and post-cure.
The repair should focus on the master preparation inside those recesses, then repeat a patch test. Increasing Shore A or changing wall thickness would not address the root cause.
What not to change first
Do not start by:
- increasing silicone hardness;
- adding random catalyst beyond the specified ratio;
- spraying more release agent;
- assuming vacuum degassing fixes inhibition;
- polishing the entire master before locating the contaminated region.
Those changes either do not address the chemistry or introduce new variables.
What evidence should be recorded
For repeat production, log:
- SLA/DLP resin manufacturer and grade;
- wash process;
- post-cure process;
- any coating/sealer and cure schedule;
- RTV silicone grade;
- patch-test result;
- date and operator.
If the master later has to be remade, this record prevents the same failure from returning.
Next step
If you have an inhibited mold, send a close photo showing where the silicone stayed tacky, the SLA/DLP resin name, how the print was washed/post-cured, and any paint, primer or release agent used. We can review whether the next step should be further curing, sealing, remaking the master or changing the molding route.