
custom silicone resin molds
Custom Silicone Resin Molds
- DFM
- Before tooling
- Release
- Peel / slit / split
- Support
- If the pour needs it
- Surface
- From the master
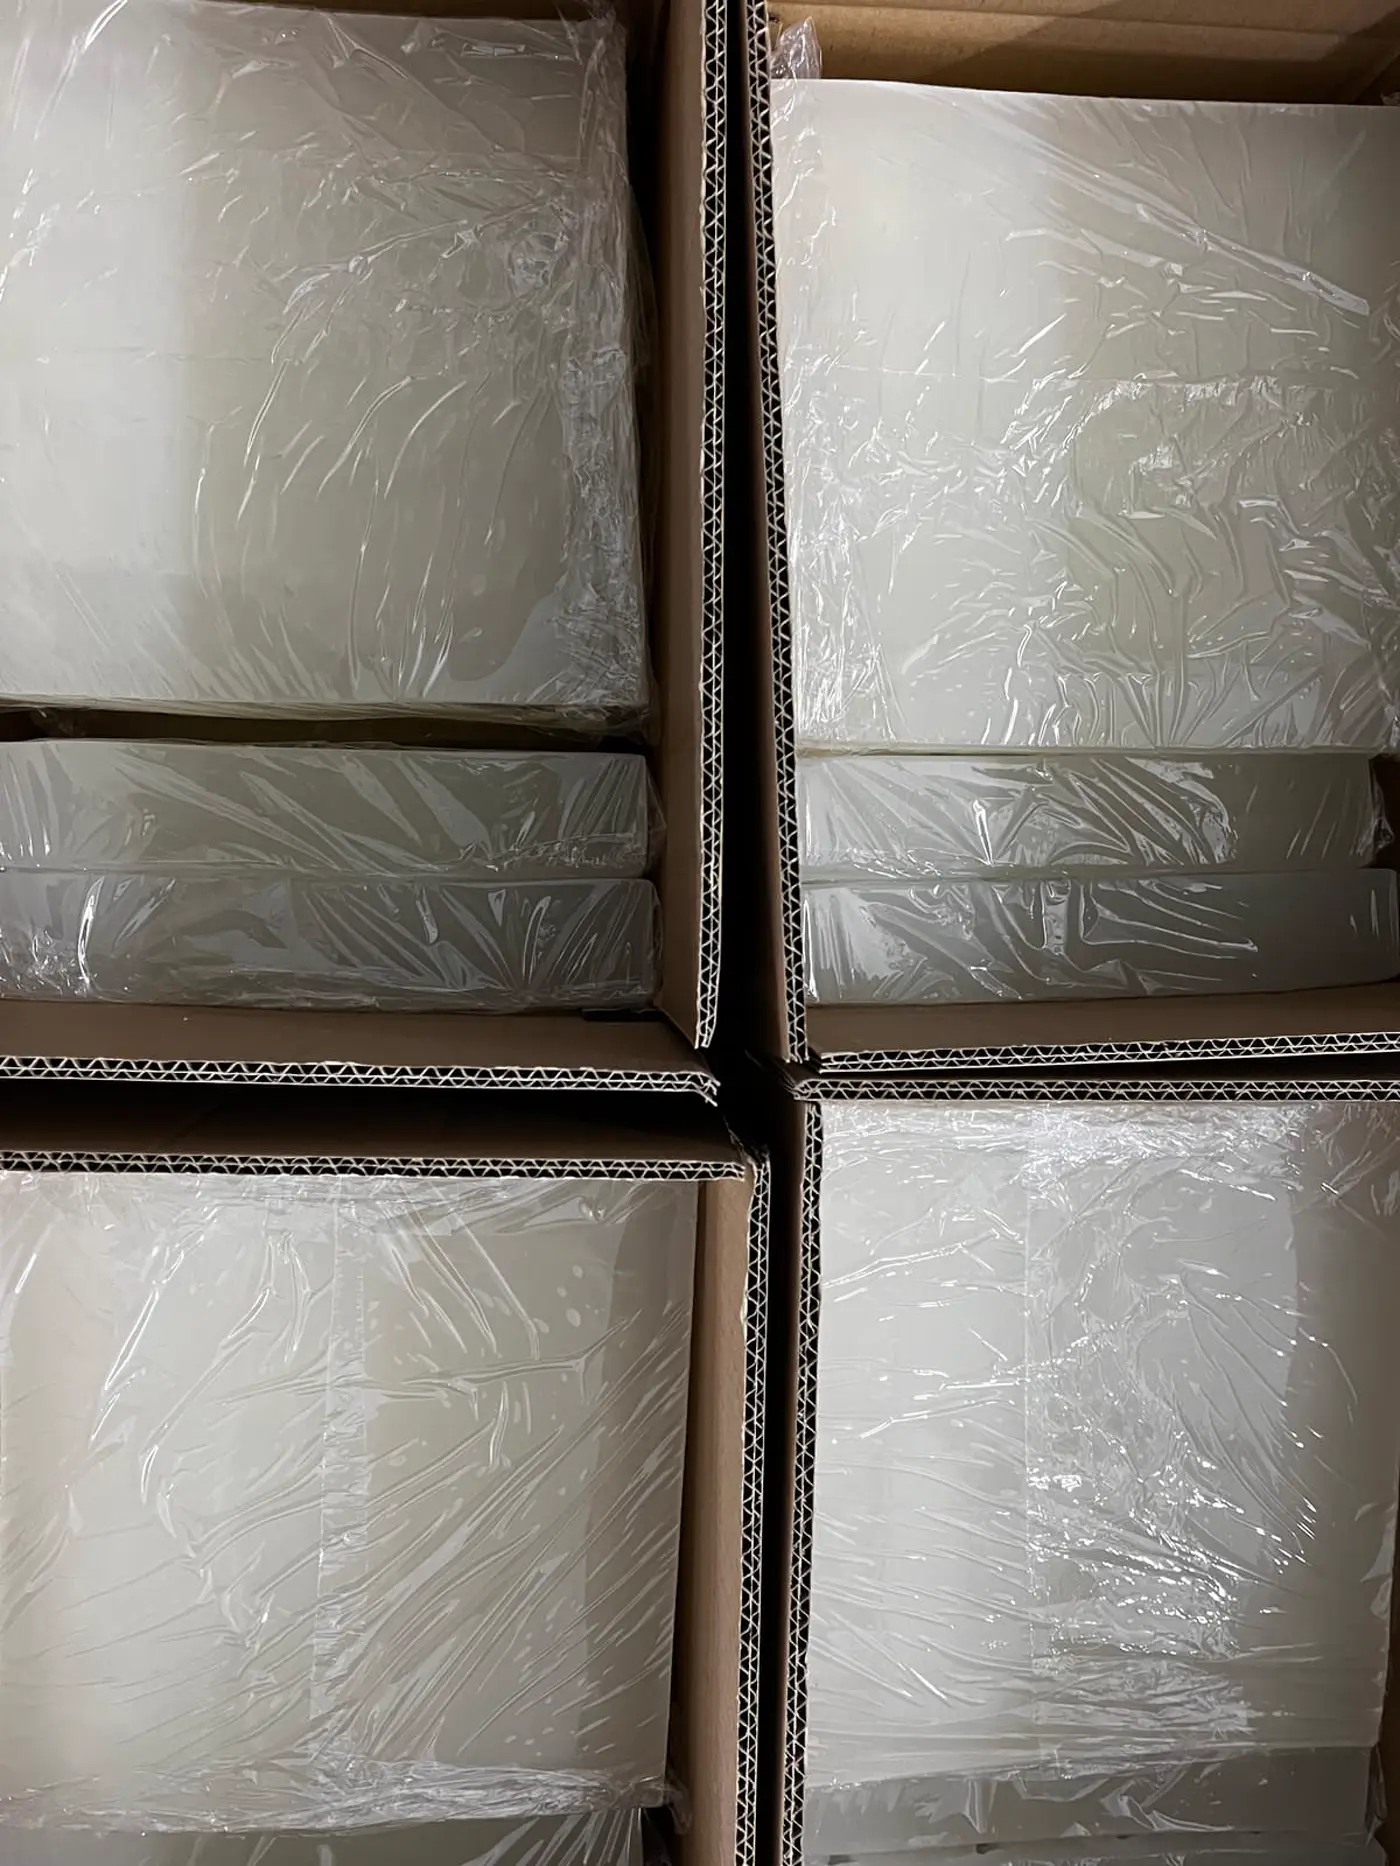
A good resin mold begins with the demolding path.
This is an RTV mold you pour epoxy or polyurethane into, not a finished resin part.
The mold structure comes from the part geometry and the resin you pour. One Shore A number does not choose it.
Send Your Resin Mold Project Resin mold design tips
STL only: epoxy molds from an STL. Heat and sticking: epoxy exotherm. Shallow face relief is craft casting, not a 1:1 acceptance test: mahjong relief detail.
Start With the Finished Casting
Send:
- finished dimensions;
- full 3D geometry or photos;
- resin system;
- undercuts/openings;
- surface requirement;
- logo/text;
- cavity count;
- production quantity.
For a full 3D sculpture or sample, include multiple views. One front image may hide the feature that controls the mold split.
Choose the Mold Structure From the Release Path
One-Piece Open Mold
Often suitable for:
- flat-back pieces;
- shallow castings;
- parts with a direct peel/release path.
Planned Slit / Cut Mold
Can help release a more enclosed shape while keeping one main silicone body.
The cut path should be planned around:
- cosmetic surfaces;
- high-strain zones;
- operator opening sequence.
Two-Part Mold
Useful when the casting cannot release safely from one piece.
Review:
- parting line;
- keys/alignment;
- fill point;
- venting;
- closure/support.
Removable Plug or Core
Useful for a local opening/undercut that would otherwise force the entire mold to become more complex.
Silicone Skin + Rigid Support Shell
Useful where a flexible mold is needed for release but the overall casting needs shape support while filled.
The best design is the one that reduces repeat-production strain and handling—not necessarily the mold with the fewest pieces.
Match the Mold to the Actual Resin System
Provide:
- resin brand/type;
- TDS/SDS if available;
- mix/cure method;
- cure temperature;
- maximum exotherm if known;
- pigments/fillers;
- release agent if used;
- casting depth/mass.
Do not assume every epoxy, PU or UV resin has the same compatibility with one silicone material.
If material compatibility is uncertain, validate the actual resin/master/release system before repeat production.
Master Surface Becomes Casting Surface
A silicone mold reproduces what is on the master.
Before molding, approve:
- gloss/matte;
- texture;
- print lines;
- machining marks;
- seams;
- logo edges;
- repair areas.
If the master pattern has defects, the mold can reproduce those defects consistently. Logo and lettering still need a real-size review on custom logo silicone molds.
For cosmetic resin parts, master preparation can matter as much as mold flexibility.
Air Traps and Fill Path
Complex geometry can trap air at:
- high points;
- deep pockets;
- narrow text;
- closed features.
Possible solutions can include:
- changed fill orientation;
- local vents;
- overflow;
- geometry adjustment.
Do not prescribe one universal vent size or vacuum time.
The resin supplier’s process limits and the actual cavity should guide the decision.
If trapped air is already showing in the first pours, see resin mold bubble causes and fixes.
Fragile Resin Features Need DFM
Resin castings can contain:
- thin fingers;
- sharp tips;
- letters;
- handles/loops;
- narrow bridges;
- decorative edges.
The mold may need to flex, but the resin part may not.
Review whether the casting can survive:
- the intended peel direction;
- opening a split;
- removing a core;
- cleanup of the seam.
Sometimes the part geometry needs adjustment rather than simply using softer silicone.
Multi-Cavity Resin Production
After the single part is validated, scale the layout.
Review:
- cavity pitch;
- filled weight;
- resin pot life;
- fill sequence;
- operator reach;
- support;
- demolding sequence;
- fragile part spacing.
Do not maximize cavity count before proving the individual casting and the production workflow. Layout vs filled handling is covered on multi-cavity silicone molds.
Prototype With the Actual Casting Process
A useful prototype can confirm:
- complete fill;
- trapped-air behavior;
- release;
- seam/parting line;
- surface finish;
- fragile features;
- mold support;
- operator effort.
If the buyer requires a test casting before approval, define:
- which resin is used;
- what is inspected;
- whether photos/video, dimensions or a physical sample are required.
Do not assume test casting is automatically included in every project.
What Affects Price and Lead Time?
- geometry/undercuts;
- one-piece vs slit/split/core;
- support shell;
- mold dimensions;
- silicone consumption;
- new 3D modeling;
- master preparation;
- cavity count;
- prototype/test-casting scope;
- production quantity;
- packing/shipping.
Commercial baseline: Standard MOQ: 20 pcs per design for applicable custom RTV production. Standard CAD / 3D modeling fee: USD 50 when RUUIPON builds or revises 3D. Tooling, unit price, lead time and shipping are confirmed for the specific project.
Resin Mold RFQ Checklist
Send:
- CAD/STL/drawing/sample/photos;
- finished casting dimensions;
- resin brand/type;
- surface finish;
- undercuts/openings;
- logo/detail;
- single vs multi-cavity goal;
- prototype/test-cast requirement;
- mold quantity;
- expected casting volume;
- destination and target date.
Frequently Asked Questions
Can you make a resin mold from a physical sculpture?
Yes. The sample can be reviewed/measured as a development input. The master condition and whether it can be molded directly should be confirmed first.
Can you convert photos or 2D artwork into a 3D model?
Potentially, yes. The design scope and approval model should be defined before mold making.
What Shore A is best for resin?
There is no universal value. Geometry, mold size, undercuts, support and the selected material’s properties matter together.
Can one mold contain several different parts?
Yes, where layout, filled weight, resin pot life and demolding sequence make the combined tray practical.
Can you make a test resin casting before repeat production?
It can be included when required, but define the test material, acceptance points and deliverables in the quotation.
Mahjong-tile craft clip
Tile face in a craft RTV tray. Same geometry family as resin / plaster dumps — not a chocolate or gummy tool.
Mahjong-tile cavity, craft dump
Tile face copied into a white RTV tray. Craft / resin job - do not read this as a food-contact mold.