
custom wax melt molds
Custom Silicone Wax Melt Molds
- DFM
- Before tooling
- SKU
- Weight and pack-out
- Break
- Snap line if used
- Layout
- After the SKU
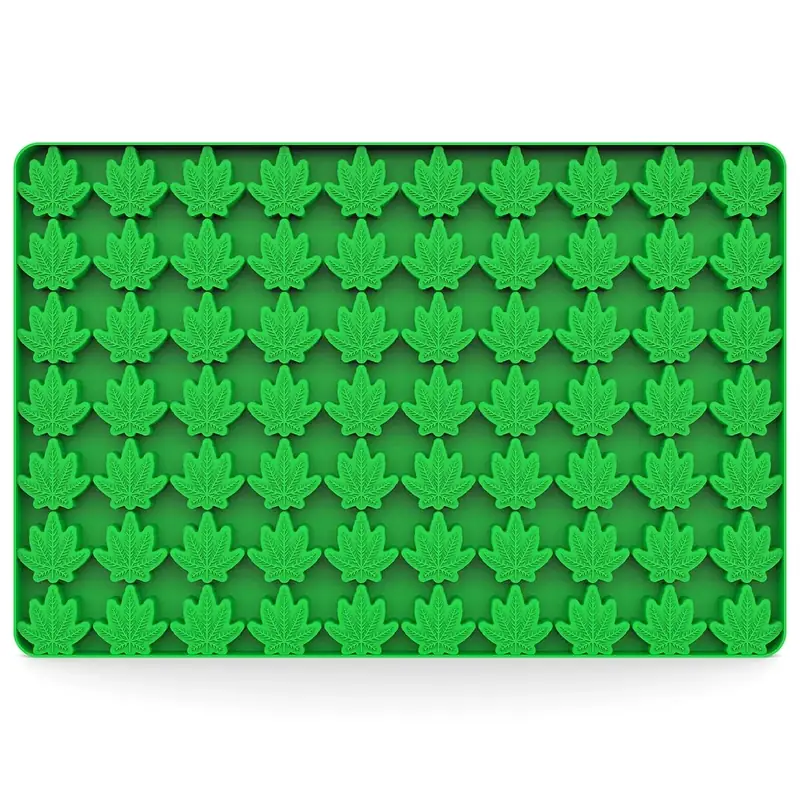
Start with grams per piece and how the bar should break. Cavity count comes after that.
Also send the wax blend, the pack count, and whether the snap line has to land between cavities. Layout notes are on wax melt layout. A pillar or figurine candle is a different tool: candle molds.
The important question is not “How many cavities fit?” It is whether the cavities produce the intended SKU and whether the filled tray can be handled consistently.
Send Your Wax Melt Design Wax melt mold design guide
Define the Retail SKU Before the Tray
Send:
- wax type or blend;
- target grams per piece;
- pieces per retail pack;
- artwork or shape reference;
- snap/bar layout where relevant;
- fragrance/dye system if it affects the process;
- cavity-count target;
- maximum tray dimensions;
- expected production quantity.
If the product is sold by net weight, design from the weight/volume requirement rather than simply copying a shape from a photo.
Cavity Weight Needs Prototype Validation
CAD cavity volume is useful for the first design.
It is not a universal guarantee of final filled weight because the production result can depend on:
- wax formulation;
- fill temperature/process;
- operator or dosing equipment;
- meniscus/overfill practice;
- tray support and levelness.
For a weight-sensitive retail SKU, prototype with the intended wax system and weigh actual pieces before repeating the mold across a larger order.
Snap Bars: Design the Break Line as a Functional Section
A snap groove is not just a visual line.
It has to balance:
- clean break by the consumer;
- enough section strength during filling;
- safe demolding;
- packing/shipping;
- logo/detail around the segment.
If the groove is too weak, sections can crack during production or shipping.
If it is too shallow, the consumer may have difficulty separating the bar.
The correct section depends on product geometry and wax behavior.
Logo, Texture and Branding
Custom molds can reproduce:
- logos;
- lettering;
- geometric textures;
- seasonal graphics;
- branded silhouettes.
For critical detail, review:
- real finished size;
- smallest strokes;
- gaps;
- relief depth;
- local product thickness;
- demolding direction.
A deeper logo does not automatically improve readability.
Approve the actual wax result when the brand mark is important to the retail product. Artwork and raised/recessed direction belong on custom logo silicone molds.
Fragrance, Dye and Cleaning Belong in the RFQ
Home-fragrance formulas vary.
Tell the supplier about:
- wax type/blend;
- fragrance system;
- dye/additives where relevant;
- pour condition;
- cleaning method;
- repeated production frequency.
Do not assume every fragrance oil has the same long-term interaction with every silicone formulation.
Where the formulation is unusual or aggressive, compatibility should be reviewed or tested with the actual system before repeat production.
Multi-Cavity Layout Is a Handling Decision
For higher output, the mold may contain many cavities—but tray count should not be maximized without considering:
- filled mass;
- outside dimensions;
- worktable/cooling-rack size;
- operator lifting;
- cavity spacing;
- demolding access;
- support pan/frame;
- fill speed.
A larger flexible tray can reduce handling efficiency if it becomes difficult to keep level. Cavity count vs tray span is reviewed on multi-cavity silicone molds.
Wax Melt Mold vs Candle Mold
Wax melts and sculptural candles both use wax, but the mold requirements can be different.
Wax melts usually focus more on:
- cavity weight;
- pack count;
- snap/bar layout;
- multi-cavity tray handling.
Pillar and figurine candle molds can require:
- one-piece vs split structure;
- seam placement;
- wick path;
- tall-mold support.
If the SKU is a pillar or figurine rather than a melt tray, see custom silicone candle molds.
Prototype the Real Production Step
A useful wax-melt prototype should confirm:
- actual grams;
- complete fill;
- break-line function;
- logo/detail;
- clean release;
- tray stability;
- operator handling;
- compatibility with the intended wax/fragrance system where needed.
Do not approve only from the empty silicone mold.
What Affects the Quote?
- mold/tray outside size;
- cavity geometry;
- cavity count;
- silicone consumption;
- logo/detail;
- snap-line geometry;
- new CAD/modeling;
- master/tooling method;
- prototype/testing scope;
- production quantity;
- packaging/shipping.
Commercial baseline: Standard MOQ: 20 pcs per design for applicable custom RTV production. Standard CAD / 3D modeling fee: USD 50 when RUUIPON builds or revises 3D. Tooling, unit price, lead time and shipping are confirmed for the specific project.
Wax Melt Mold RFQ Checklist
Send:
- wax type/blend;
- finished shape or artwork;
- target grams per piece;
- pieces per pack;
- snap-line requirement;
- logo/text/texture;
- cavity-count target;
- maximum tray size;
- filling and cooling workflow;
- prototype and production quantity;
- destination and target date.
Request a Wax Melt Mold Review
Frequently Asked Questions
Can you design a mold from target grams?
Yes, as an engineering starting point. The final weight should be validated with the actual wax and filling process.
Can one mold make both wax melts and soap?
Possibly, but do not assume it. Geometry, formulation, release, cleaning and contamination control should be reviewed for both uses.
What Shore A is best for wax melt trays?
There is no universal number. Tray span, cavity geometry, filled handling, demolding and material properties all affect the choice.
Can you make a branded snap bar?
Yes. Send the artwork, segment layout, target weight and finished dimensions so the logo and break lines can be reviewed together.
Do wax-melt molds need food-contact documents?
Not simply because they are silicone molds. State the actual product/customer requirement instead of applying food-contact documentation by default.