
Pour Gates, Vents and Air-Trap Analysis for Closed RTV Silicone Molds
A vent belongs at a place where air would otherwise remain when the cavity fills. That sounds obvious, but it means you cannot design vent channels.
A vent belongs at a place where air would otherwise remain when the cavity fills. That sounds obvious, but it means you cannot design vent channels intelligently before defining the mold's real production orientation, pour point and casting-material flow behavior.
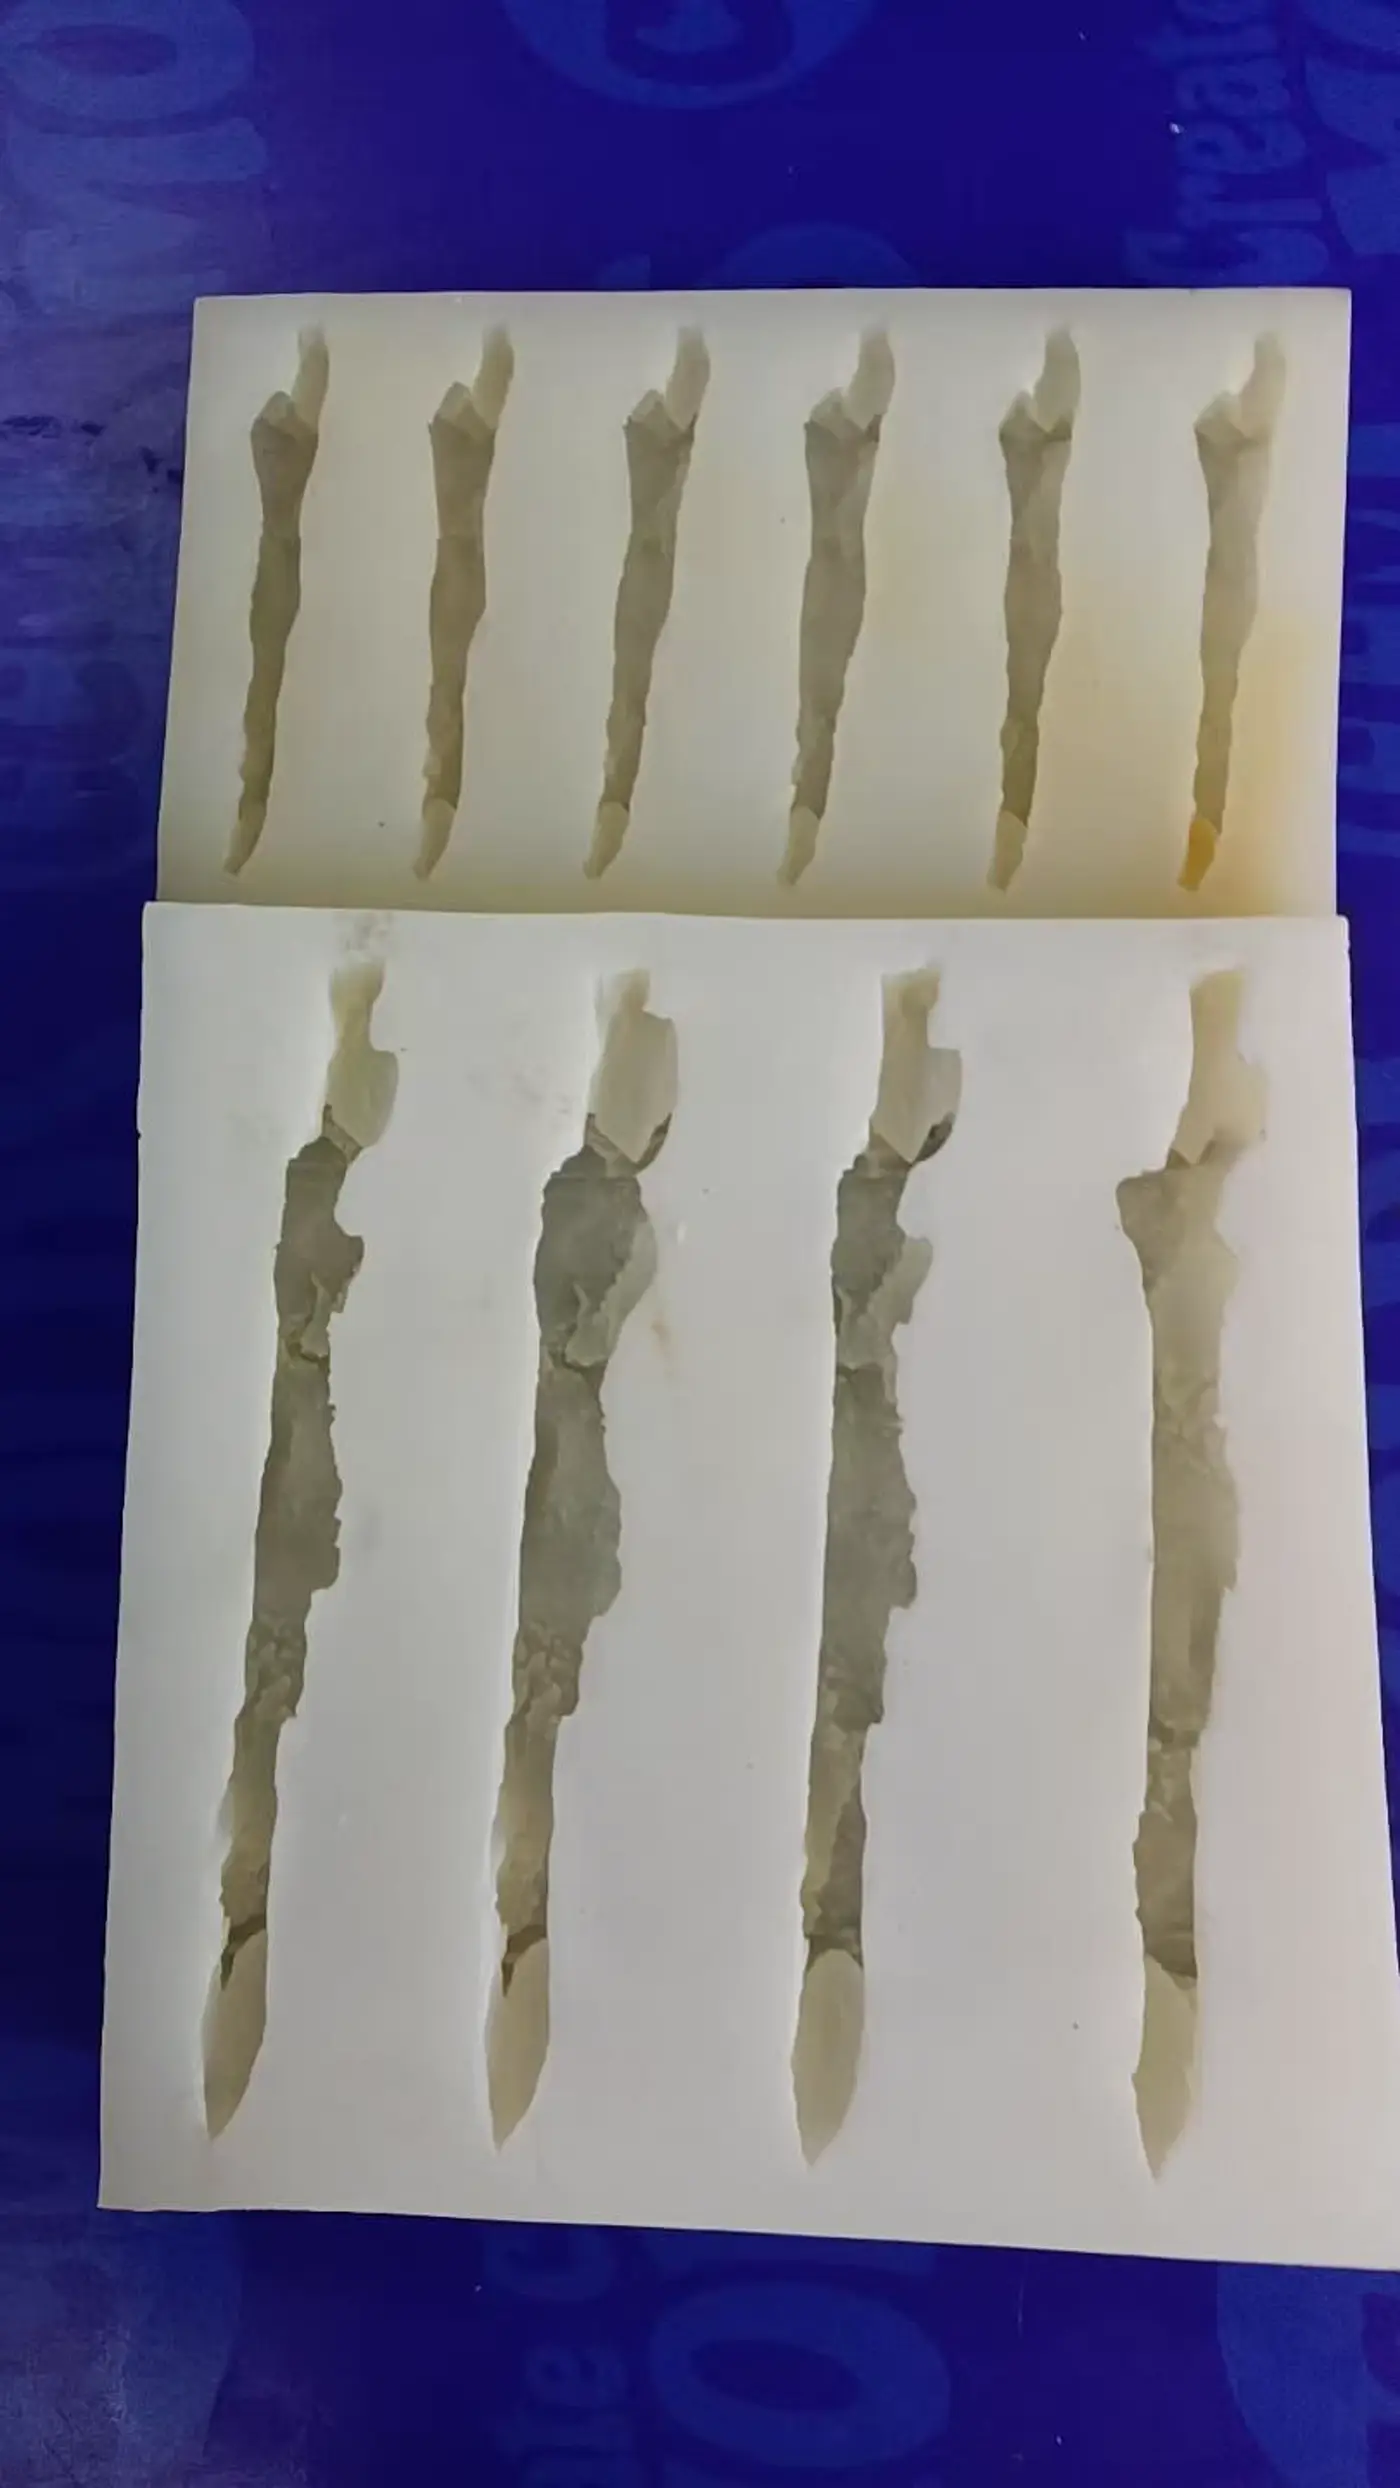
There is no universal vent diameter or "one vent per cavity" rule. The same figurine may need a different gate/vent plan for thin polyurethane resin than for plaster because viscosity, pot life and fill rate change where the air becomes trapped.
Choose production orientation first
Before placing a gate, put the mold in the orientation the operator will actually use.
Then mark:
- lowest fill region;
- highest points;
- enclosed tips such as ears, fingers, horns or lettering;
- regions behind cores or plugs;
- areas where two flow fronts meet;
- cosmetic faces where gate/vent witness marks are unacceptable.
Changing orientation can eliminate an air trap more cleanly than adding another vent.
Trace the last-to-fill regions
Imagine the casting material rising through the cavity.
Air leaves easily from open paths until material seals them. A dead-end feature becomes a trap when liquid reaches the entrance before the air at its tip has another escape route.
Common last-to-fill regions:
- fingertips;
- ears/horns;
- top of a head;
- logo corners;
- high ribs;
- cavity behind an inner core;
- shoulder above a narrow neck;
- upper edge of a closed planter/vessel geometry.
Annotate these on CAD before mold making.
Gate location controls the flow pattern
A good gate should allow the material to fill the cavity predictably without creating avoidable turbulence or trapping air ahead of the flow front.
Gate decisions include:
- position;
- cross-section;
- angle;
- whether a funnel/reservoir is useful;
- trimming accessibility;
- whether the gate mark is cosmetic;
- whether the casting material cures too quickly for a long path.
For a very fast resin, the shortest theoretical flow path may be more important than for a slower plaster fill.
Vent size follows material behavior
A vent must let air escape without becoming a major uncontrolled flash path.
Its useful size depends on:
- viscosity;
- surface tension;
- fill pressure/head;
- pot life;
- particle/filler content;
- vent length;
- whether the material is vacuum/pressure cast;
- acceptable cleanup on the casting.
That is why fixed web tables copied from another application are weak DFM.
High-point vents are not free
Every vent can leave a witness that must be trimmed or finished. On decorative figurines, place vents where cleanup is least visible or easiest to access.
Sometimes a tiny sacrificial extension can move the vent mark away from a critical face. In other cases, changing the parting line creates a better vent exit.
Parting, gating and venting should be reviewed together.
Cores create hidden air traps
An inner core can block direct vent paths and split the incoming flow into separate branches.
Watch for:
- air trapped under the core shoulder;
- two flow fronts meeting at a high cosmetic surface;
- a narrow annular gap filling unevenly;
- drain-pin features preventing air escape;
- core support hardware blocking the highest route.
The core-support design should not make the flow problem worse.
Vacuum and pressure casting do not eliminate bad geometry
Vacuum degassing the resin can reduce entrained air before pouring. Pressure casting can compress bubbles during cure. Neither method guarantees that a sealed dead-end cavity will fill if there is no physical path for displaced air.
Fix the flow path first, then use vacuum/pressure as process controls.
Prototype with a material that shows the flow problem
For difficult molds, useful validation methods include:
- transparent or visibly colored slow test liquid for flow observation where appropriate;
- actual production resin at full pot-life condition;
- staged fill video;
- first casting cut/inspection at suspected air-trap locations;
- vent witness inspection;
- repeated runs at normal operator fill speed.
A slow test fluid can reveal geometry but should not be mistaken for proof that a fast, filled production resin will behave identically.
Example: full-3D figurine
A figurine is poured from the base. The ears and raised hand are the highest points. One arm creates a pocket behind the torso.
A practical analysis may place:
- main gate at the base;
- fine vents at ear tips;
- a vent from the raised hand;
- a local vent or parting feature behind the arm pocket.
The exact location should keep vent scars away from the face and display front.
What should happen to the existing RUUIPON vent article
RUUIPON already has /blog/silicone-mold-pour-spout-vent-design/, so it should be rewritten as the canonical P39 page. The current article contains fixed gate/vent sizes and generic tables that can mislead buyers across different resin/plaster/food applications.
Replace universal dimensions with actual flow logic, material variables and air-trap analysis.
Start your custom silicone mold project
Send your design, target material, and quantity. We confirm silicone grade, hardness, and certification needs - usually within 24 hours.