
How an FRP Fiberglass Mother Mold Is Built Around an RTV Silicone Skin
For a large sculpture, planter, figurine or heavy casting, the silicone and the FRP shell do different jobs. The RTV silicone skin copies detail and.
For a large sculpture, planter, figurine or heavy casting, the silicone and the FRP shell do different jobs. The RTV silicone skin copies detail and flexes for release. The FRP mother mold holds the silicone in the correct global shape while the casting material is inside.
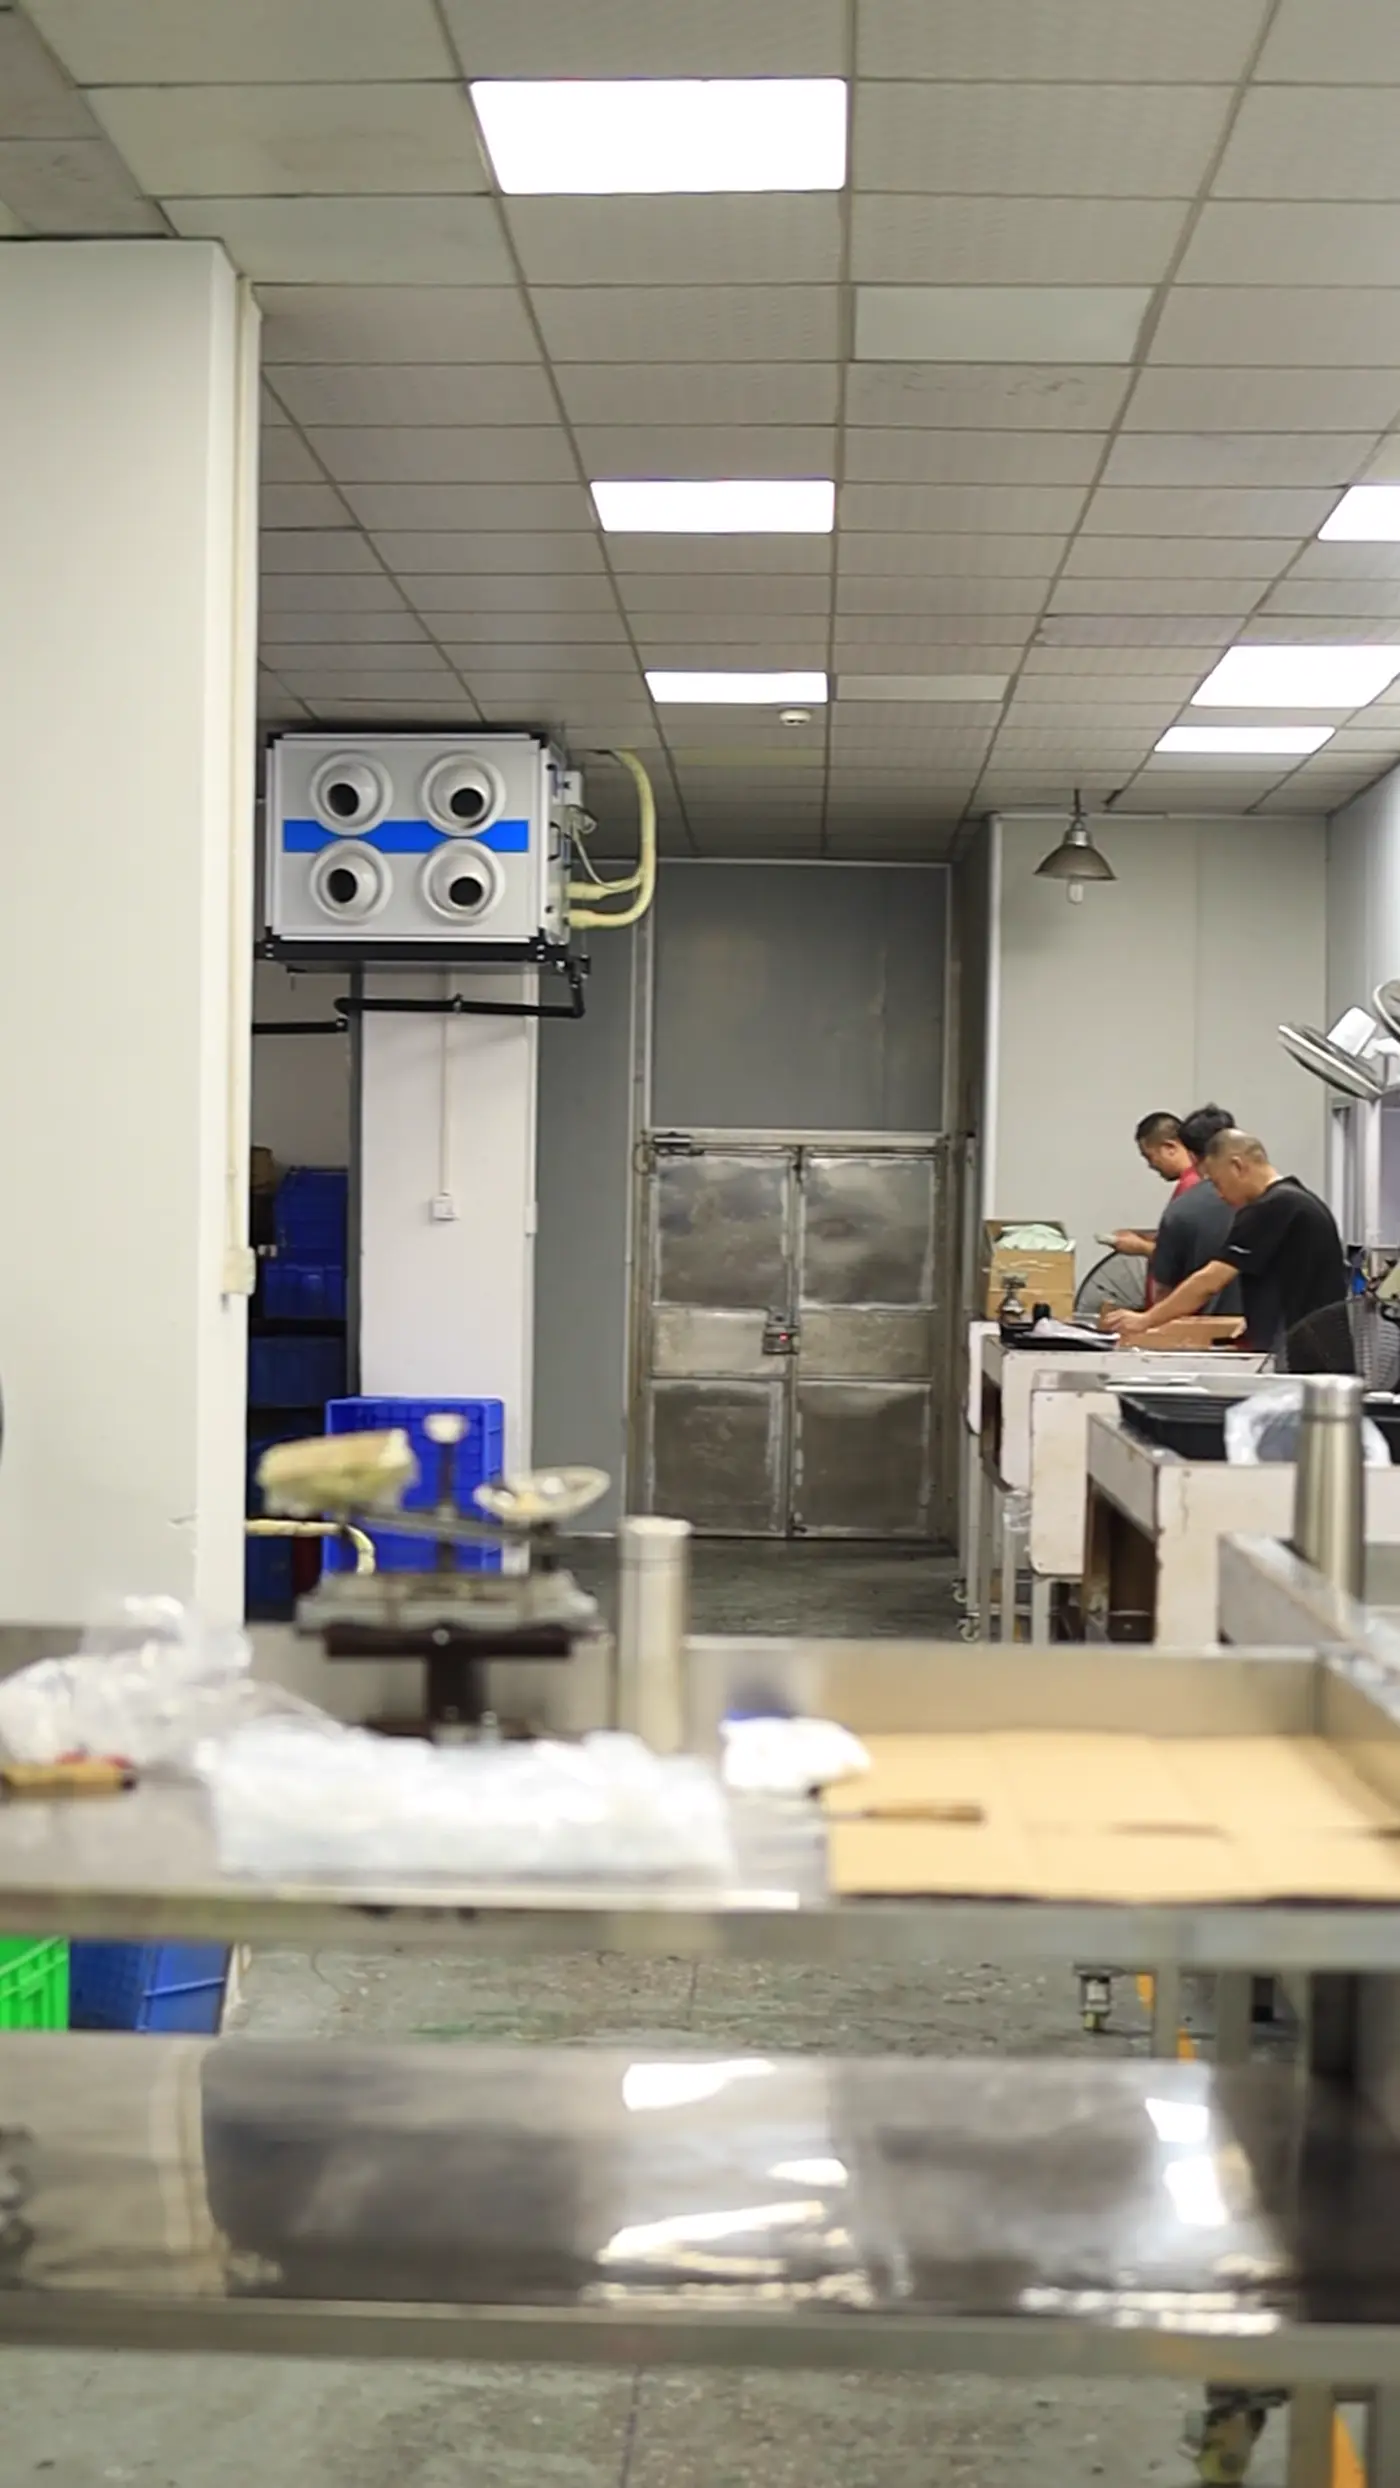
The fiberglass shell is therefore built around an already-controlled silicone skin, with planned split lines, flanges and registration. It is not simply a random fiberglass box added afterward.
Step 1: finish the master and plan both split systems
Before silicone is applied, decide:
- where the silicone skin will open;
- whether the skin is one piece, slit, two-part or multi-part;
- where the FRP shell will split;
- how each shell section will be removed from the master and later from the casting;
- where bolts/clamps can be reached;
- where pouring and venting access must remain open.
The silicone split and FRP split do not have to be identical.
For a large animal or sculpture, the shell may need several sections even if the silicone skin itself uses fewer seams.
Step 2: apply the silicone detail coat
The first silicone layer is responsible for surface fidelity.
It should:
- wet the master completely;
- reach fine texture;
- avoid trapped air at hair, lettering and sharp recesses;
- reproduce the approved master surface;
- remain compatible with any master sealer/release system.
On brush-on systems, later silicone layers build thickness after the detail coat has captured the surface.
The process parameters depend on the chosen RTV grade; do not use a universal mix ratio or cure schedule across all materials.
Step 3: build controlled skin thickness and local reinforcement
The skin needs enough section to survive peel and repeated handling, but the FRP shell should carry global stiffness.
Add local reinforcement where needed around:
- slit starts;
- flange edges;
- deep undercuts;
- thin projections;
- plug/core interfaces;
- areas repeatedly grabbed during demolding.
The correct skin thickness depends on size, Shore, geometry and support strategy. A large mother-mold system is not improved by simply turning the RTV into a massive block.
Step 4: form registration features between silicone and shell
Before the rigid shell is laid up, create features that stop the silicone skin from wandering inside it.
These can include:
- silicone buttons/keys;
- keyed ridges;
- perimeter locating lips;
- hard stops built into the jacket geometry.
The objective is repeatable seating without crushing the silicone.
If the skin can shift several millimeters inside the shell, the shell is not actually controlling the cavity.
Step 5: build flanges and release interfaces
FRP shell sections need controlled flanges so they can:
- separate from one another;
- reassemble consistently;
- accept bolts or clamps;
- carry load without excessive local flex;
- avoid locking around the master.
Release agent or separation barriers are applied where shell sections must not bond together.
Flange geometry should also leave enough working room for drilling, trimming and assembly.
Step 6: laminate the fiberglass shell
A typical FRP shell may use:
- fiberglass mat or cloth;
- polyester or epoxy resin system depending on the project;
- local surface/gel layer where appropriate;
- extra reinforcement around flanges, handles or high-load zones;
- embedded or added hardware.
The laminate schedule depends on shell span, casting weight, expected handling and required durability. It should not be specified only by "number of layers" without considering fiber type and geometry.
Step 7: trim, drill and fit the hardware
After cure:
- trim shell edges;
- drill bolt/clamp locations;
- smooth hazardous glass edges;
- mark section orientation;
- add handles or reinforcement if needed;
- verify every section seats without forcing the silicone out of position.
This dry assembly is important before the original master is removed.
Step 8: demold the shell, then the silicone
The normal sequence is to remove rigid shell sections first, then peel or open the flexible silicone skin from the master.
If the shell cannot be removed without destroying it, the split planning was wrong.
The master should come out while preserving:
- silicone registration keys;
- slit/split edges;
- thin details;
- shell flange geometry.
Step 9: reassemble the complete mold for the first casting
The first functional assembly should verify:
- silicone seats correctly in every shell section;
- shell flanges close without forcing mismatch;
- pour and vent openings remain accessible;
- an inner core, if used, locates correctly;
- the full system can be opened in a safe sequence after cure.
A successful empty assembly does not replace a real casting test.
Why FRP mother molds fail
Common failures include:
- shell split placed where it cannot release;
- insufficient flange stiffness;
- silicone skin not keyed into shell;
- too few shell sections for a deep organic shape;
- bolt pattern that allows local gaps;
- sharp shell edges cutting the RTV skin;
- support shell blocking the planned demold path;
- shell strong enough structurally but too heavy for practical handling.
These are tooling-system failures, not "silicone quality" issues.
Example: 900 mm sculpture
For a standing 900 mm animal sculpture, a practical system may include a brush-on RTV skin, multiple planned silicone openings around locked features, and several FRP shell sections around the body/legs. The exact structure depends on whether the final casting is solid, hollow, resin, plaster, concrete or another material.
The large-size question is not just "how many kilograms of silicone?" It is how the complete mold will be assembled, supported, filled, opened and shipped.
Relationship to the mother-mold commercial page
This article should support-not replace-the canonical /silicone-mold-mother-mold-support-shell/ page. The commercial page answers whether the buyer needs a mother mold; this article shows how the FRP system is actually built.
Start your custom silicone mold project
Send your design, target material, and quantity. We confirm silicone grade, hardness, and certification needs - usually within 24 hours.