
How Custom Silicone Chocolate Molds Are Made
A custom chocolate mold starts with the finished bar: size, weight, logo, and how you fill it.
 Kyler Yang · Founder8 min read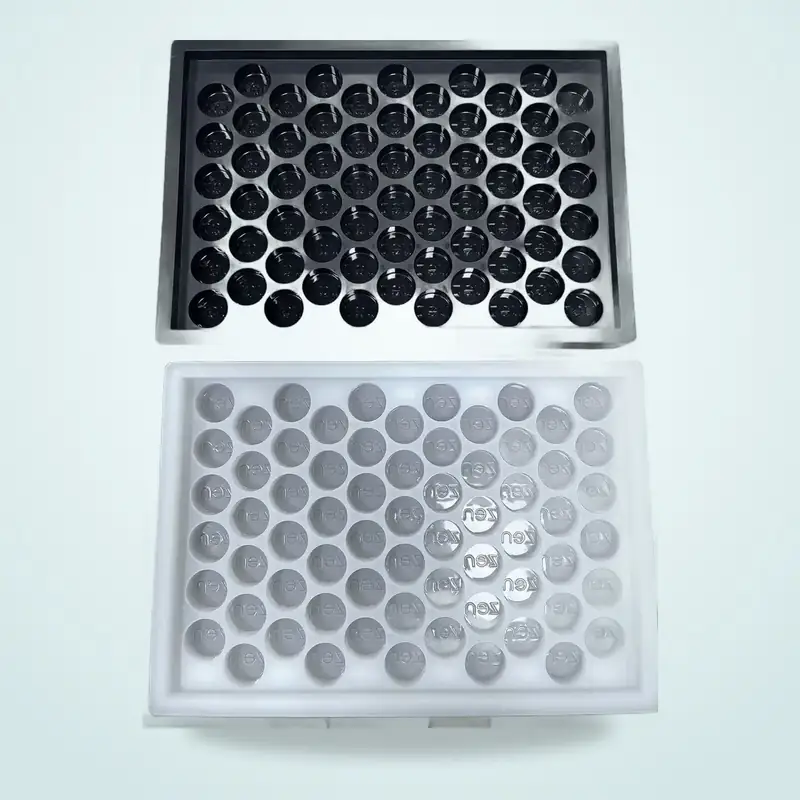
A custom chocolate mold begins with the finished chocolate—not with a generic silicone tray.
Before a master or production mold is made, the supplier needs to understand:
- finished dimensions;
- target piece weight;
- logo/detail;
- surface finish;
- cavity count;
- filling method;
- food-contact requirements;
- production quantity.
This guide explains the development sequence from product definition to approved production.
1. Define the Finished Chocolate
Start with:
- bar/bonbon/custom shape;
- finished size;
- target grams;
- visible face;
- logo;
- expected surface;
- break line where applicable.
The mold design should serve the finished product.
2. Review CAD or Artwork
Inputs may include:
- STEP/STP;
- STL/mesh;
- 2D drawing;
- vector logo;
- sample;
- photographs.
If the buyer only has artwork, a 3D cavity/master model may need to be created and approved before tooling.
Critical dimensions and brand geometry should be locked before the production master is released.
3. Convert Target Grams Into an Initial Cavity
Where weight matters:
- define target piece weight;
- use the best available chocolate/process data;
- create initial cavity volume;
- make prototype;
- fill and weigh real chocolate;
- adjust if required.
CAD volume is an engineering input, not a guaranteed gram result.
4. Define the Surface Finish
Silicone copies the production master.
The master should therefore be approved for:
- gloss/matte;
- texture;
- machining/print marks;
- logo quality;
- seams;
- defects.
A rough master produces a rough cavity.
A silicone mold cannot create surface quality that was never present in the master.
5. Engineer the Logo
For logos and lettering, review:
- stroke width;
- depth;
- spacing;
- isolated islands;
- internal corners;
- raised vs recessed result.
The finished chocolate material matters because very thin or deep geometry can be harder to fill and release.
Logo detail: how small a molded logo can be.
6. Review Release Geometry
Chocolate is relatively rigid after setting.
Check:
- undercuts;
- deep vertical walls;
- thin projections;
- sharp internal returns;
- decorative features.
The silicone can flex, but the chocolate still has to survive the release.
A good design reduces both mold strain and product breakage.
7. Prepare the Master / Production Pattern
The positive production master is the geometry copied into the silicone mold.
Before molding, approve:
- dimensions;
- logo;
- surface;
- final revision;
- any split/parting features.
Use “master pattern” or “production master” for the positive pattern.
A mother mold/support shell is a different object: a rigid support behind a flexible mold when needed.
8. Select the Silicone / Material Route
Material selection should consider:
- food-contact requirement;
- geometry;
- flexibility;
- tear behavior;
- tray handling;
- repeated use;
- cleaning;
- destination market.
Do not select solely from one Shore A table.
9. Confirm Food-Contact Documentation
For the selected material/article, confirm:
- intended food contact;
- market;
- available report/declaration;
- color/formulation where relevant;
- customer/retailer requirement.
Do not describe the factory itself as “FDA approved.”
10. Prototype With Actual Chocolate
The prototype should answer:
- Does the cavity fill?
- Is target weight close enough to approve or revise?
- Does the logo read correctly?
- Does the surface meet expectations?
- Does the chocolate release without damage?
- Is the tray practical to handle?
A CAD review alone cannot answer all of these.
11. Scale to Multi-Cavity Production Layout
After the individual cavity is approved, set:
- cavity count;
- pitch;
- tray outside dimensions;
- support;
- filled weight;
- depositor constraints;
- operator handling.
A one-cavity prototype does not automatically validate a large production tray.
Tray layout: multi-cavity silicone molds.
12. Production Approval and Reorder Control
Keep a clear reference to:
- approved CAD/drawing revision;
- logo version;
- cavity count/layout;
- material;
- master/tool record;
- approved sample;
- applicable documentation.
This reduces variation when the same SKU is reordered.
Frequently Asked Questions
Does a custom chocolate mold always need a 3D CAD file?
No. Artwork, drawings, photos or a physical sample can begin development, but production geometry still needs to be defined and approved.
Can target grams be guaranteed from CAD alone?
No. Validate the actual chocolate/process before repeat production.
Is silicone always better than polycarbonate?
No. Flexible silicone and rigid chocolate tooling solve different product and production needs.
Should a production tray be built immediately after one cavity looks good?
Only if the layout itself does not add new handling/support/equipment risks. Otherwise validate a representative production-style tray.
Commercial Next Step
For product-specific quotation:
Custom silicone chocolate molds. Food-contact papers for that tray sit on food-safe silicone molds, not in this manufacturing sequence.
Custom silicone development · DFM & prototype support
CAD, drawing, photos or sample details